What Size Weighted Vest Should I Get? Fit the Vest Before Choosing the Load
Choose the vest size from the exact manufacturer's chart using the measurements it requests—usually chest, sometimes waist, height, or torso length. Then choose the training load separately. “20-pound vest” describes weight, not body size, and small/medium/large labels are not standardized.
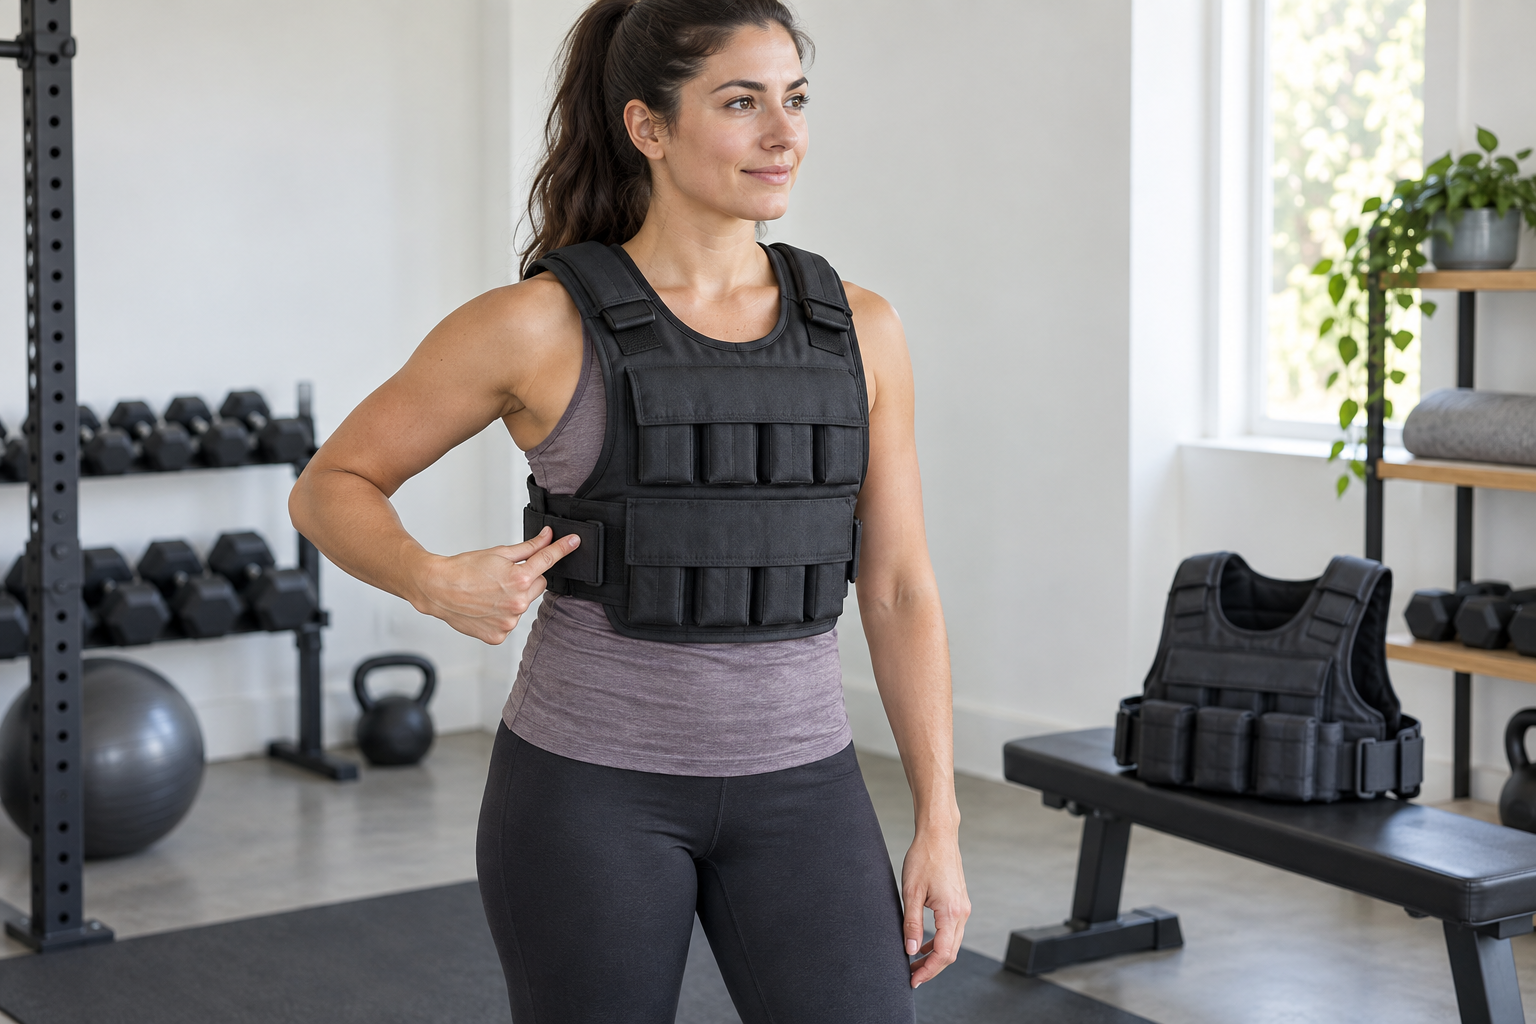
A correct fit stays centered and close to the torso without restricting a full breath, arm swing, or the movement you bought it for. An adjustable model should also cover your planned progression at its lowest and highest usable loads.
Size and Load Are Two Different Decisions
| Decision | Use | Do not use |
|---|---|---|
| Vest size | The model-specific chest, waist, height, and torso measurements requested by the maker | Body weight alone or your usual T-shirt size |
| Training load | Your activity, experience, current capacity, technique, and a gradual progression | The vest's maximum capacity as a starting target |
| Vest style | Movement demands, adjustment range, weight distribution, pocket design, and cleaning instructions | A military-looking profile or the largest advertised number |
How to Measure for a Weighted Vest
- Wear the layer you will train in. A winter walking layer can change fit compared with a thin gym shirt.
- Measure chest circumference. Keep the tape level around the fullest part of the chest and breathe normally; do not pull it tight.
- Measure waist if requested. Follow the chart's stated location rather than assuming it means pants size.
- Record height and torso length. Short and long torsos can need different coverage even at the same chest size.
- Use the chart for the exact model. One brand may grade a compression vest differently from its plate carrier.
- Follow the maker's between-size rule. Some recommend sizing up; others prioritize a close performance fit.
For example, Hyperwear publishes chest, height, and body-weight ranges for its Hyper Vest PRO and says the vest should be snug without restricting breathing or movement. Those numbers apply to that model, not to every vest.
The Five-Minute Fit Test
Run this test at the lowest available load before a full workout.
- Zip or buckle every required closure and adjust both sides evenly.
- Take several slow, full breaths. The vest may feel close; it should not force shallow breathing.
- Walk, turn, and swing the arms. The vest should not bounce, rotate, or rub the neck and armpits.
- Perform the exact unloaded movement you plan to train—such as a squat, step-up, push-up setup, or easy walk.
- Bend and reach. The lower edge should not jam into the hips, ribs, or abdomen, and pockets should stay closed.
Choose the Vest Style for the Activity
| Style | Best fit characteristics | Trade-off to check |
|---|---|---|
| Pocketed fitness vest | Many small weights spread over the torso; often allows fine load changes | Longer coverage can contact the waist during deep flexion |
| Compact running or conditioning vest | Low bounce, open shoulders, close adjustment | Lower maximum load and more sensitivity to chafing |
| Plate carrier | Shorter torso, front/back plate pockets, robust buckles | Plate dimensions and carrier size may be separate; rigid plates can limit comfort and range |
| Fixed-weight vest | Simple, balanced design with no loose pieces | No way to start lighter or progress in small steps |
| Adjustable walking vest | Comfortable low-load range and balanced pockets | Check heat, pocket security, and whether the hem clears the hips |
How Much Weight Should the Vest Hold?
There is no universal starting percentage that suits every activity and person. Research shows that adding vest load increases the metabolic cost of walking, and heavier loads can produce disproportionate strain. That makes the lightest load that changes the intended session without changing technique a better starting rule than chasing a percentage.
- Begin with the empty vest or its lightest documented configuration.
- Keep speed, distance, exercise selection, and volume familiar.
- Add only one variable at a time: load, duration, incline, speed, or exercise difficulty.
- Repeat the breathing, bounce, closure, and movement checks after every load change.
- Stay below the vest's rated capacity and distribute removable weights exactly as instructed.
People with balance limitations, joint or bone conditions, cardiovascular concerns, pregnancy, a recent injury, or clinician-directed restrictions should get individualized guidance before adding load.
A Better Buying Checklist
- Model-specific body-size chart and between-size policy
- Empty vest weight, included weight, maximum capacity, and adjustment increment
- Whether weights can be balanced left/right and front/back
- Minimum and maximum torso coverage after adjustment
- Closure security, pocket retention, reflective needs, and heat management
- Material allergies, including latex in elastic components
- Cleaning instructions and whether weights must be removed
- Return policy after a clean indoor fit test
If two sizes both fit on paper, choose based on the maker's guidance and the activity—not the hope of carrying more weight later.
Sources and Manufacturer Guidance
Requirements can vary by product, model, and situation. These primary sources informed this guide; official instructions for your exact product and current authoritative guidance take priority.
- Hyperwear Hyper Vest PRO: model-specific size chart and fit guidance
- Hyperwear FAQ: vest types, sizing measurements, and weight capacity
- Medicine & Science in Sports & Exercise: metabolic costs of walking with weighted vests
- Applied Ergonomics: performance and cardiometabolic responses during heavy vest-borne load carriage
Frequently Asked Questions
-
It should be snug enough to limit bounce and shifting, but not so tight that it restricts a full breath, arm motion, or the exercise range of motion.
-
Follow the exact model's between-size instruction. Different designs use different grading and adjustment ranges, so there is no universal size-up rule.
-
It is a load description. The same nominal load may be sold in several body sizes, and an adjustable vest may accept a range of loads.
-
It bounces, rotates, rubs the neck or arms, drops onto the hips when you squat, or cannot be tightened without closures reaching the end of their range.
-
No. Confirm that the manufacturer permits running, that the vest stays stable at the intended load, and that your gait remains normal. High-impact activity makes bounce and fit errors more consequential.