Power Rack Attachment Compatibility Guide: Measure Before You Buy
A power rack attachment is compatible only when its complete mounting geometry matches your exact rack. A listing that says “fits 3×3 racks” is not enough: 3×3 systems commonly use either 5/8-inch or 1-inch holes, while some nominally similar racks use 75×75 mm tubing rather than a true 3×3 inches.
Use the maker's model-specific compatibility statement first. If cross-brand fit is allowed, measure the six items below and confirm the rack remains stable under the way the attachment will be loaded.
The Six-Point Compatibility Worksheet
Record dimensions from the rack manual and the attachment drawing. Do not rely on a product photo or a marketplace compatibility claim.
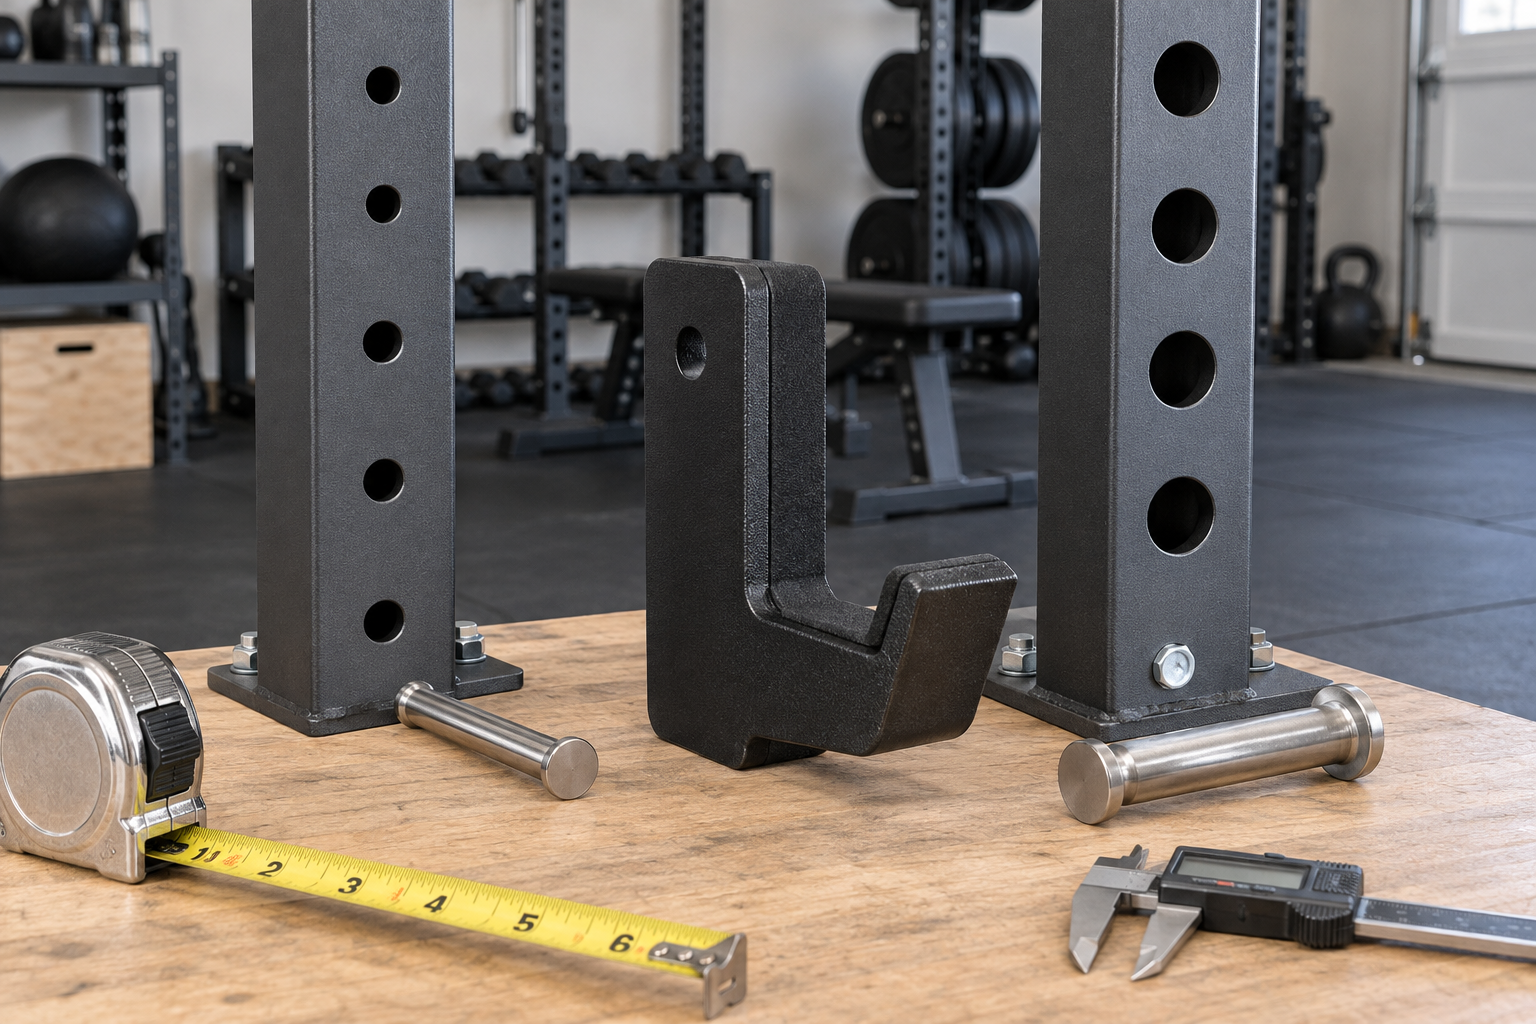
| Check | Measure or verify | What a mismatch looks like |
|---|---|---|
| 1. Upright tubing | Outside width and depth on the mounting face: e.g., 2×2, 2×3, true 3×3 in, 60×60, or 75×75 mm | The attachment channel will not slide on, or has excessive side-to-side play |
| 2. Hole and pin diameter | Actual rack hole, attachment pin, and any secondary locking pin | Pin will not enter, or a small pin sits loosely in a larger hole |
| 3. Hole spacing | Center-to-center vertical and side spacing, including any 1-inch bench zone | Second pin or wraparound feature cannot align |
| 4. Channel depth and wrap | Inside channel dimensions, liner thickness, upright depth, and required rear clearance | Attachment binds on coating or cannot seat flush around the upright |
| 5. Mounting face and direction | Front, side, inside, outside, left/right, and which hole rows are usable | The part fits one face but collides with a crossmember, wall, cable, or stored plates |
| 6. Structure and rating | Approved rack models, load rating, anchoring or foot-extension requirement, and intended use | A part physically mounts but overloads, twists, or tips the rack |
Common Rack Families Are Clues, Not Guarantees
| Common family | Typical upright | Typical hole or hardware | Compatibility caution |
|---|---|---|---|
| Light-duty home rack | Often 2×2 in or metric equivalent | Often 1/2 or 5/8 in | Hole spacing, tubing gauge, and model-specific attachment limits vary widely |
| 2×3 rack | 2×3 in | Often 5/8 in | Attachment orientation matters because the front and side faces differ |
| 3×3 / 5/8 family | True 3×3 in on many U.S. systems | 5/8 in | Not interchangeable with 3×3 / 1-inch attachments merely because the tube is the same size |
| 3×3 / 1-inch family | True 3×3 in on many U.S. systems | 1 in | Secondary keyholes and two-pin patterns can still be proprietary |
| Metric rack | Commonly 60×60 or 75×75 mm | Varies | 75 mm is about 2.95 inches; a tight true-3-inch channel may not seat as intended, and the reverse may be loose |
How to Measure a Rack Correctly
- Identify the exact rack. Record brand, model, generation, depth, height, and purchase year. Attachments may change between generations.
- Use a caliper for holes and pins. A tape measure is adequate for tube size and spacing, but not for distinguishing close hardware sizes.
- Measure center to center. For a two-pin part, record both vertical and horizontal hole spacing.
- Check all contact surfaces. Include powder coat, UHMW liners, welds, bolt heads, and the curved corner radius of the upright.
- Map nearby interference. Measure to crossmembers, wall brackets, pulleys, J-cups, safeties, plate storage, and the loaded bar.
- Send the measurements to the attachment maker. Get written confirmation when its compatibility chart does not name your exact rack.
Extra Checks by Attachment Type
| Attachment | Checks beyond tube and pin size |
|---|---|
| J-cups and safeties | Matched pair, correct left/right orientation, full seating, locking pins, rated catch area, and bar clearance |
| Lever arms | Second-pin alignment, handle and plate clearance, rack bracing, foot extensions or anchoring, and allowed mounting height |
| Dip attachment | Anti-rotation feature, usable handle clearance, rack tipping direction, and the maker's anchoring rule |
| Cable or lat-pulldown kit | Exact rack width/depth/height, crossmember hole pattern, cable path, pulley clearance, and plate or stack travel |
| Plate storage | Post diameter, usable length, loaded-plate clearance, rack balance, and interference with the bar or bench |
| Pull-up or crossmember part | Inside rack width, bolt pattern, ceiling clearance, and whether the part provides structural bracing |
Run a No-Load Dry Fit
- Unload the rack and attachment completely.
- Install the part exactly as its manual shows. Every pin, latch, and fastener must seat fully without force.
- Move the attachment through its entire adjustment or travel range by hand.
- Check for rocking, gaps, pin binding, cable rubbing, and contact with other equipment.
- Test the surrounding exercise with an empty bar or no external load.
- Only then follow the manufacturer's staged loading and inspection instructions.
If the part fits only when a pin is omitted, a latch remains open, or the attachment is reversed from its documented orientation, treat it as incompatible.
What to Save Before Ordering
Keep the rack manual, attachment manual, dimension drawings, compatibility statement, rated capacity, anchoring requirement, and the seller's return terms. Photograph the rack label and your measurements. This creates a much better record than “it looked universal.”
Staying within the same rack series is usually the simplest route, but series names can also span revisions. Confirm the exact model every time.
Sources and Manufacturer Guidance
Requirements can vary by product, model, and situation. These primary sources informed this guide; official instructions for your exact product and current authoritative guidance take priority.
- Rogue Monster Lite Rig 2.0: 3×3-inch uprights and 5/8-inch hardware
- Rogue rack family comparison: tube and hardware sizes
- Bells of Steel rack buying guide: Hydra and Manticore families
- Bells of Steel Manticore rack: true 3×3-inch tubing and one-inch holes
- Rogue Monster Lite Matador instructions: channel and detent-pin installation
Frequently Asked Questions
-
No. Hole diameter, pin size, true-inch versus metric tubing, spacing, channel depth, mounting direction, and secondary locking features can differ.
-
A 5/8-inch pin may physically pass through a one-inch hole, but the loose connection is not automatically safe or rated. Use only a manufacturer-approved adapter or keyhole system for the exact products.
-
No. Three inches is 76.2 mm. That 1.2 mm difference, plus coating and liner thickness, can determine whether a close-fitting attachment seats correctly.
-
Do not drill, grind, or enlarge holes unless the rack manufacturer supplies written instructions for that exact modification. It can weaken the upright and change the warranty or rating.
-
Attachments mounted outside the rack or far from an upright create leverage. Dip bars, lever arms, spotter arms, and loaded storage can shift the center of mass and increase tipping force.